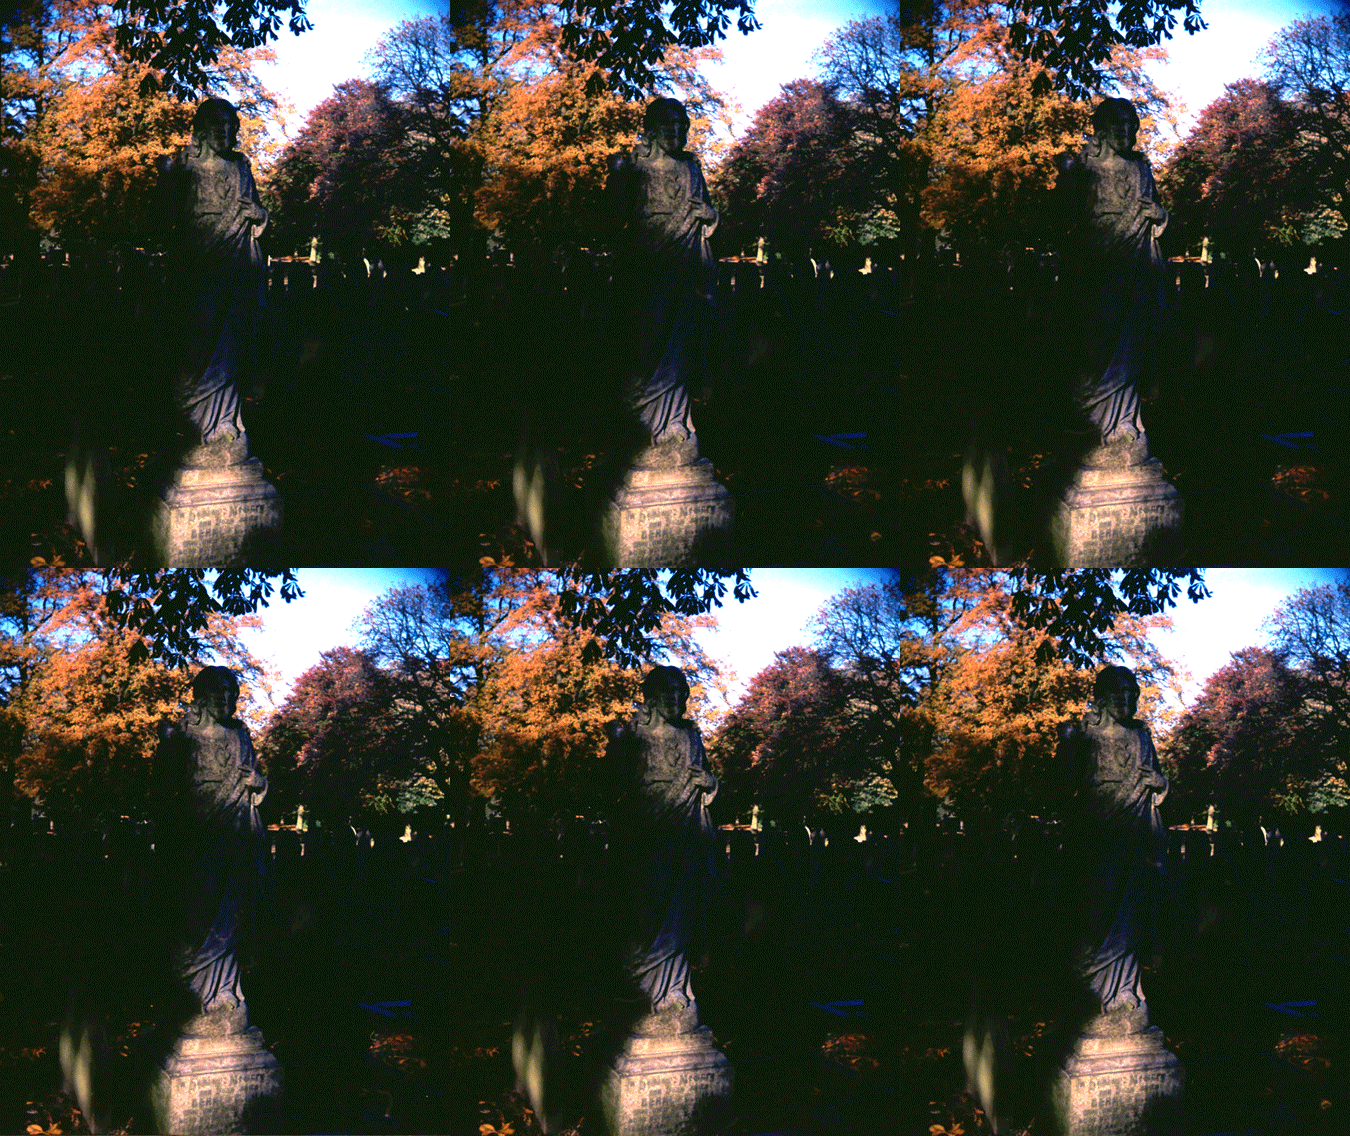
The negatives i scanned to get these images were quite thin however i am pleased with the results as it gave some of the images a very graphic high contrast look to them.
Friday, 30 November 2012
Thursday, 29 November 2012
Wednesday, 28 November 2012
Friday, 16 November 2012
Update
Well, spent all day in the darkroom doing my second silver emulsion on canvas print and frankly its worse than the first one i tried, i dont think the canvas was porous enough so the emulsion lifted and ran everywhere, i might just use photo paper.
Saturday, 10 November 2012
First emulsion on canvas print
Here is my first attempt at making a silver emulsion on canvas print, although i think it looks interesting its not quite what i was aiming for, i dont like how low the contrast is or how many bubbles have appeared, on the day i made it i was rushing, the darkroom was quite busy as well as the negative i was using was very thin. Next time I will:
- Choose a day when i will have the darkroom to myself.
- Plan ahead better.
- Leave the emulsion in the preliminary hot bath for longer to make it more liquified.
- Take more care when coating the canvas with an emphasis on consistency.
- Apply at least 2 coats.
- Use a fan to cut drying times.
- Use more even negatives to print from.
- Use a blank canvas to focus on.
- Make sure test strips are coated identically to the canvas.
- Go slower.
Friday, 9 November 2012
Stereoscopic images from last shoot
One technique i love to use is stereoscopic photography, this involves using a multi lens camera which takes multiple images of the same subject from slightly different perspectives, then once the film has been scanned i process the images in photoshop to create a 3D GIF image.
Monday, 5 November 2012
Update
I spent today working in the darkroom on my first photographic emulsion on canvas print, i have left it in collage overnight to dry, picture soon!
Subscribe to:
Posts (Atom)